5 min readUpdated 6 October 2026
Everfield reaches your storefront through an app embed in your Shopify theme. Until you turn that app embed on and save it in your published theme, nothing renders for customers — even an experience you have already published in Everfield. (There is one alternative route onto product pages, the Product Options block, covered further down. The embed is the one that also covers your cart.) Switching it on takes about a minute and changes no theme files.
Turn the app embed on
Open Everfield from Apps in your Shopify admin. If the embed is off, the dashboard shows a warning banner titled Your options aren't live on the storefront yet.
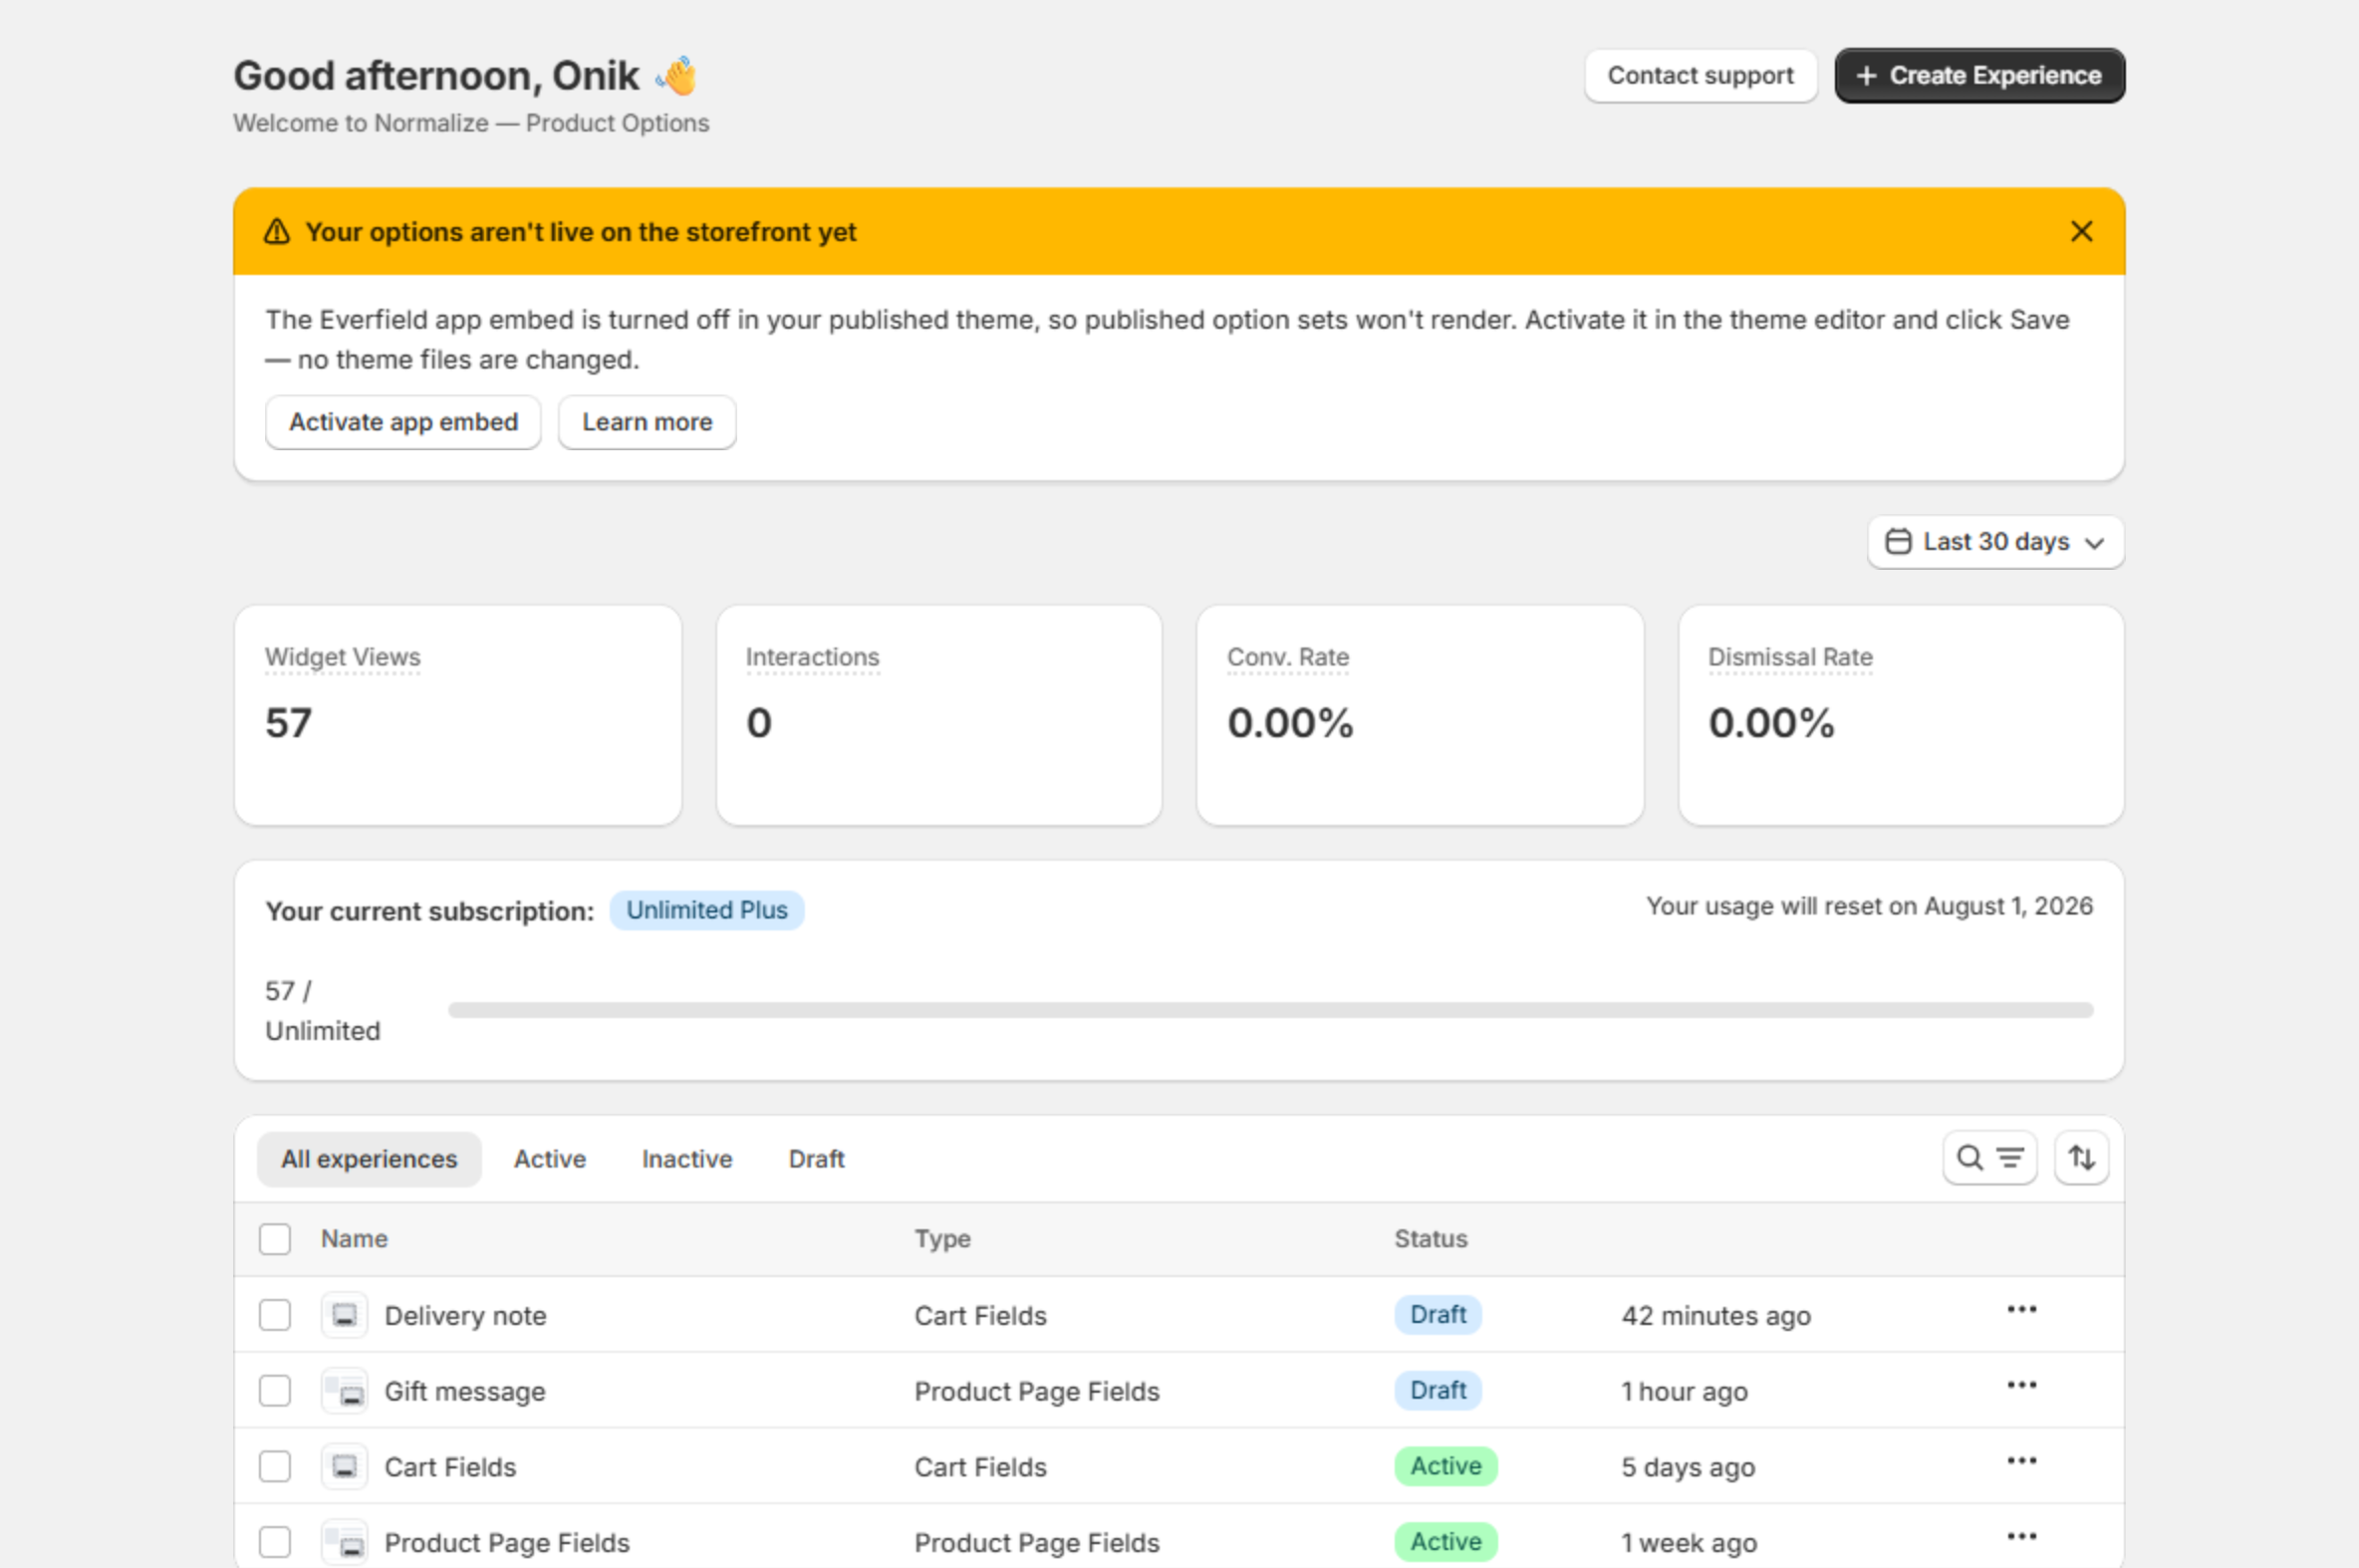
The dashboard tells you when the embed is off Click Activate app embed. Your theme editor opens with the App embeds panel already filtered to Everfield, and the Everfield Product Options toggle already switched on. Check that the toggle is on — if it is off for any reason, switch it on now.
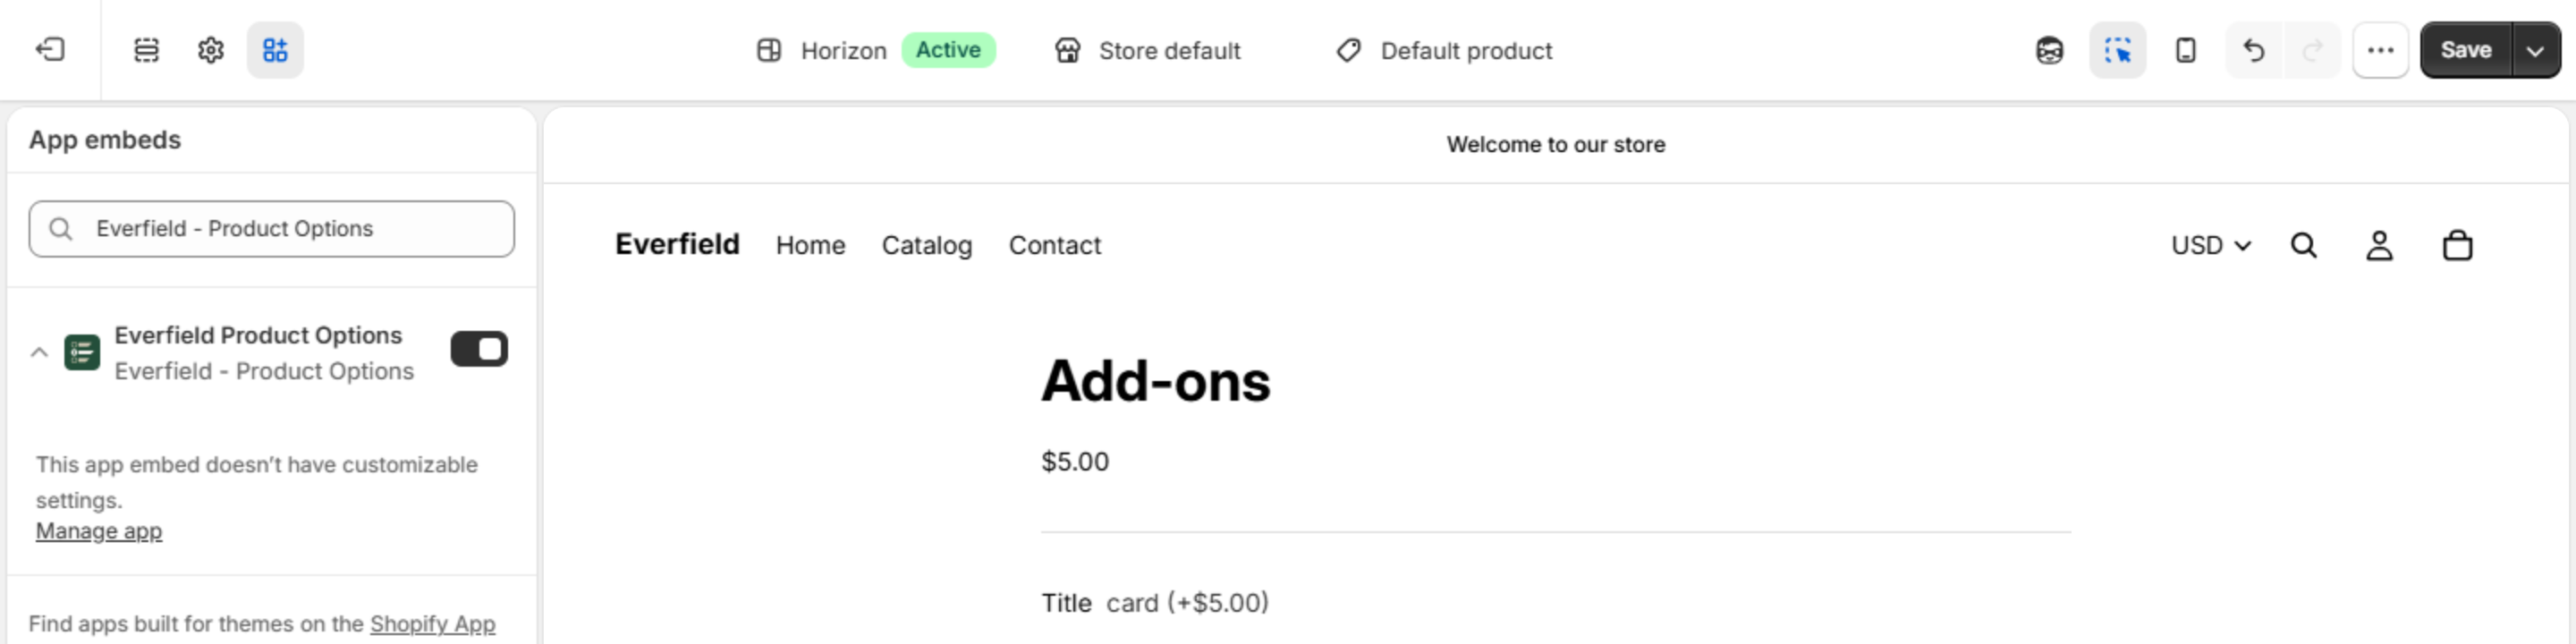
The App embeds panel, with the Everfield Product Options toggle on Click Save in the top right of the theme editor. This is the step most people miss — the toggle has no effect until it is saved. Nothing in your theme files is edited.
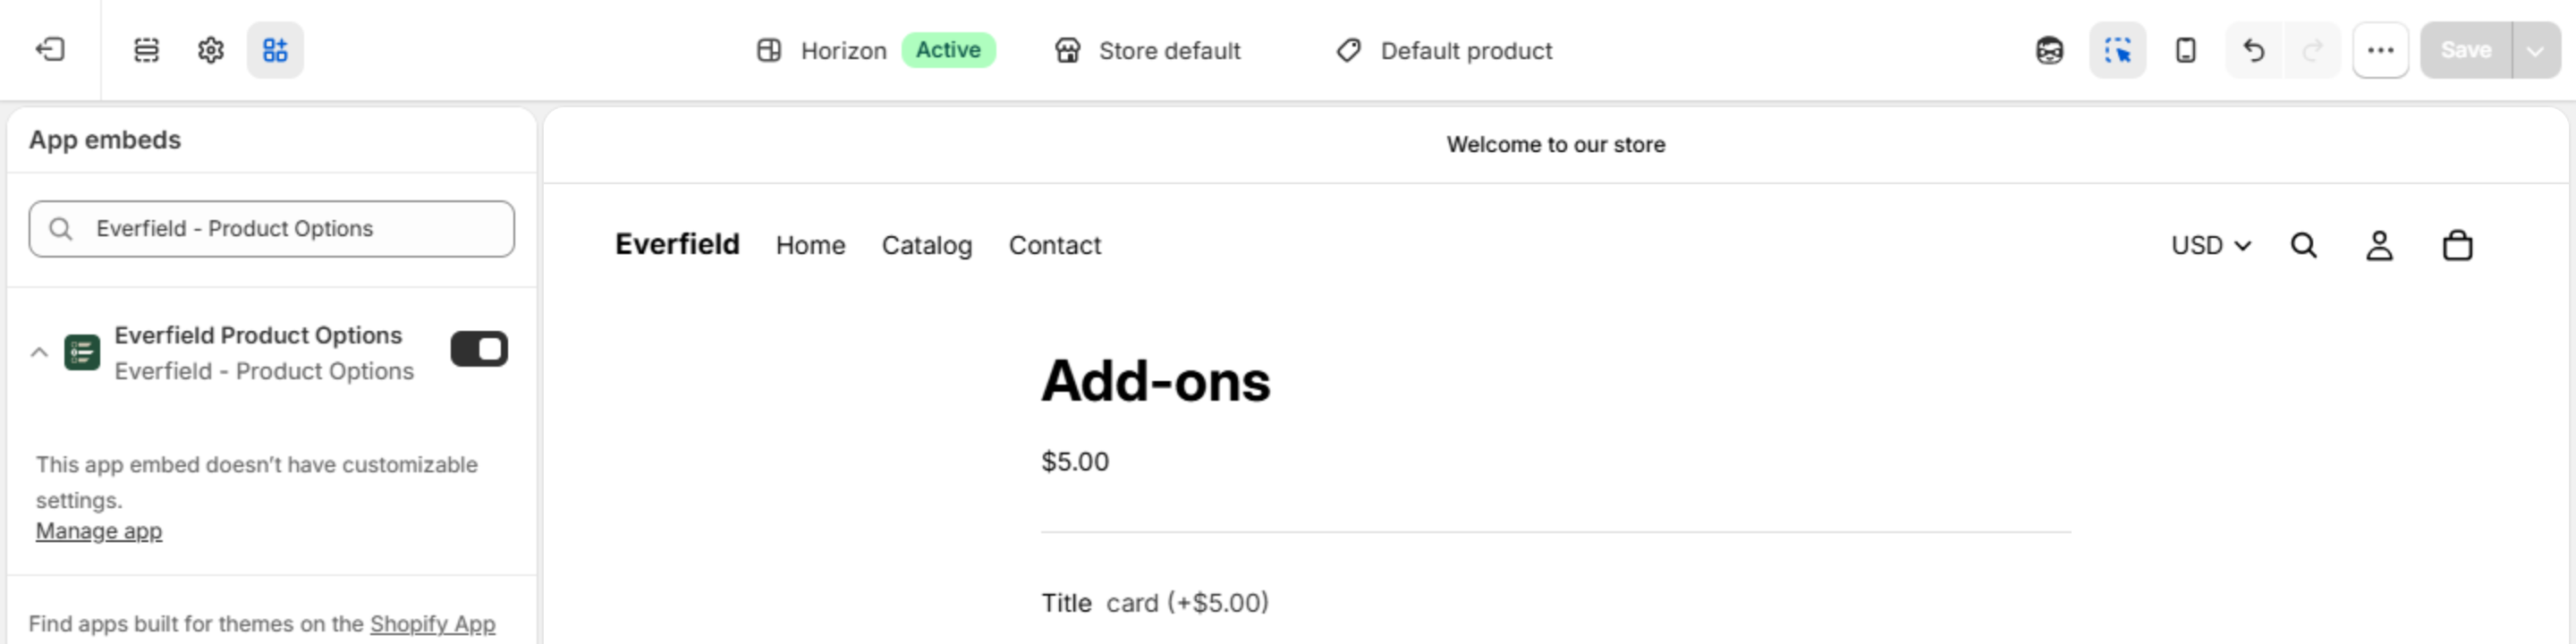
Saved — the Save button is greyed out once the change is stored Go back to the Everfield dashboard and reload the page. The warning banner is gone. Once you have published at least one experience, you may see a blue banner titled Choose where your options appear on the product page instead — that one is optional and is covered in the next section.
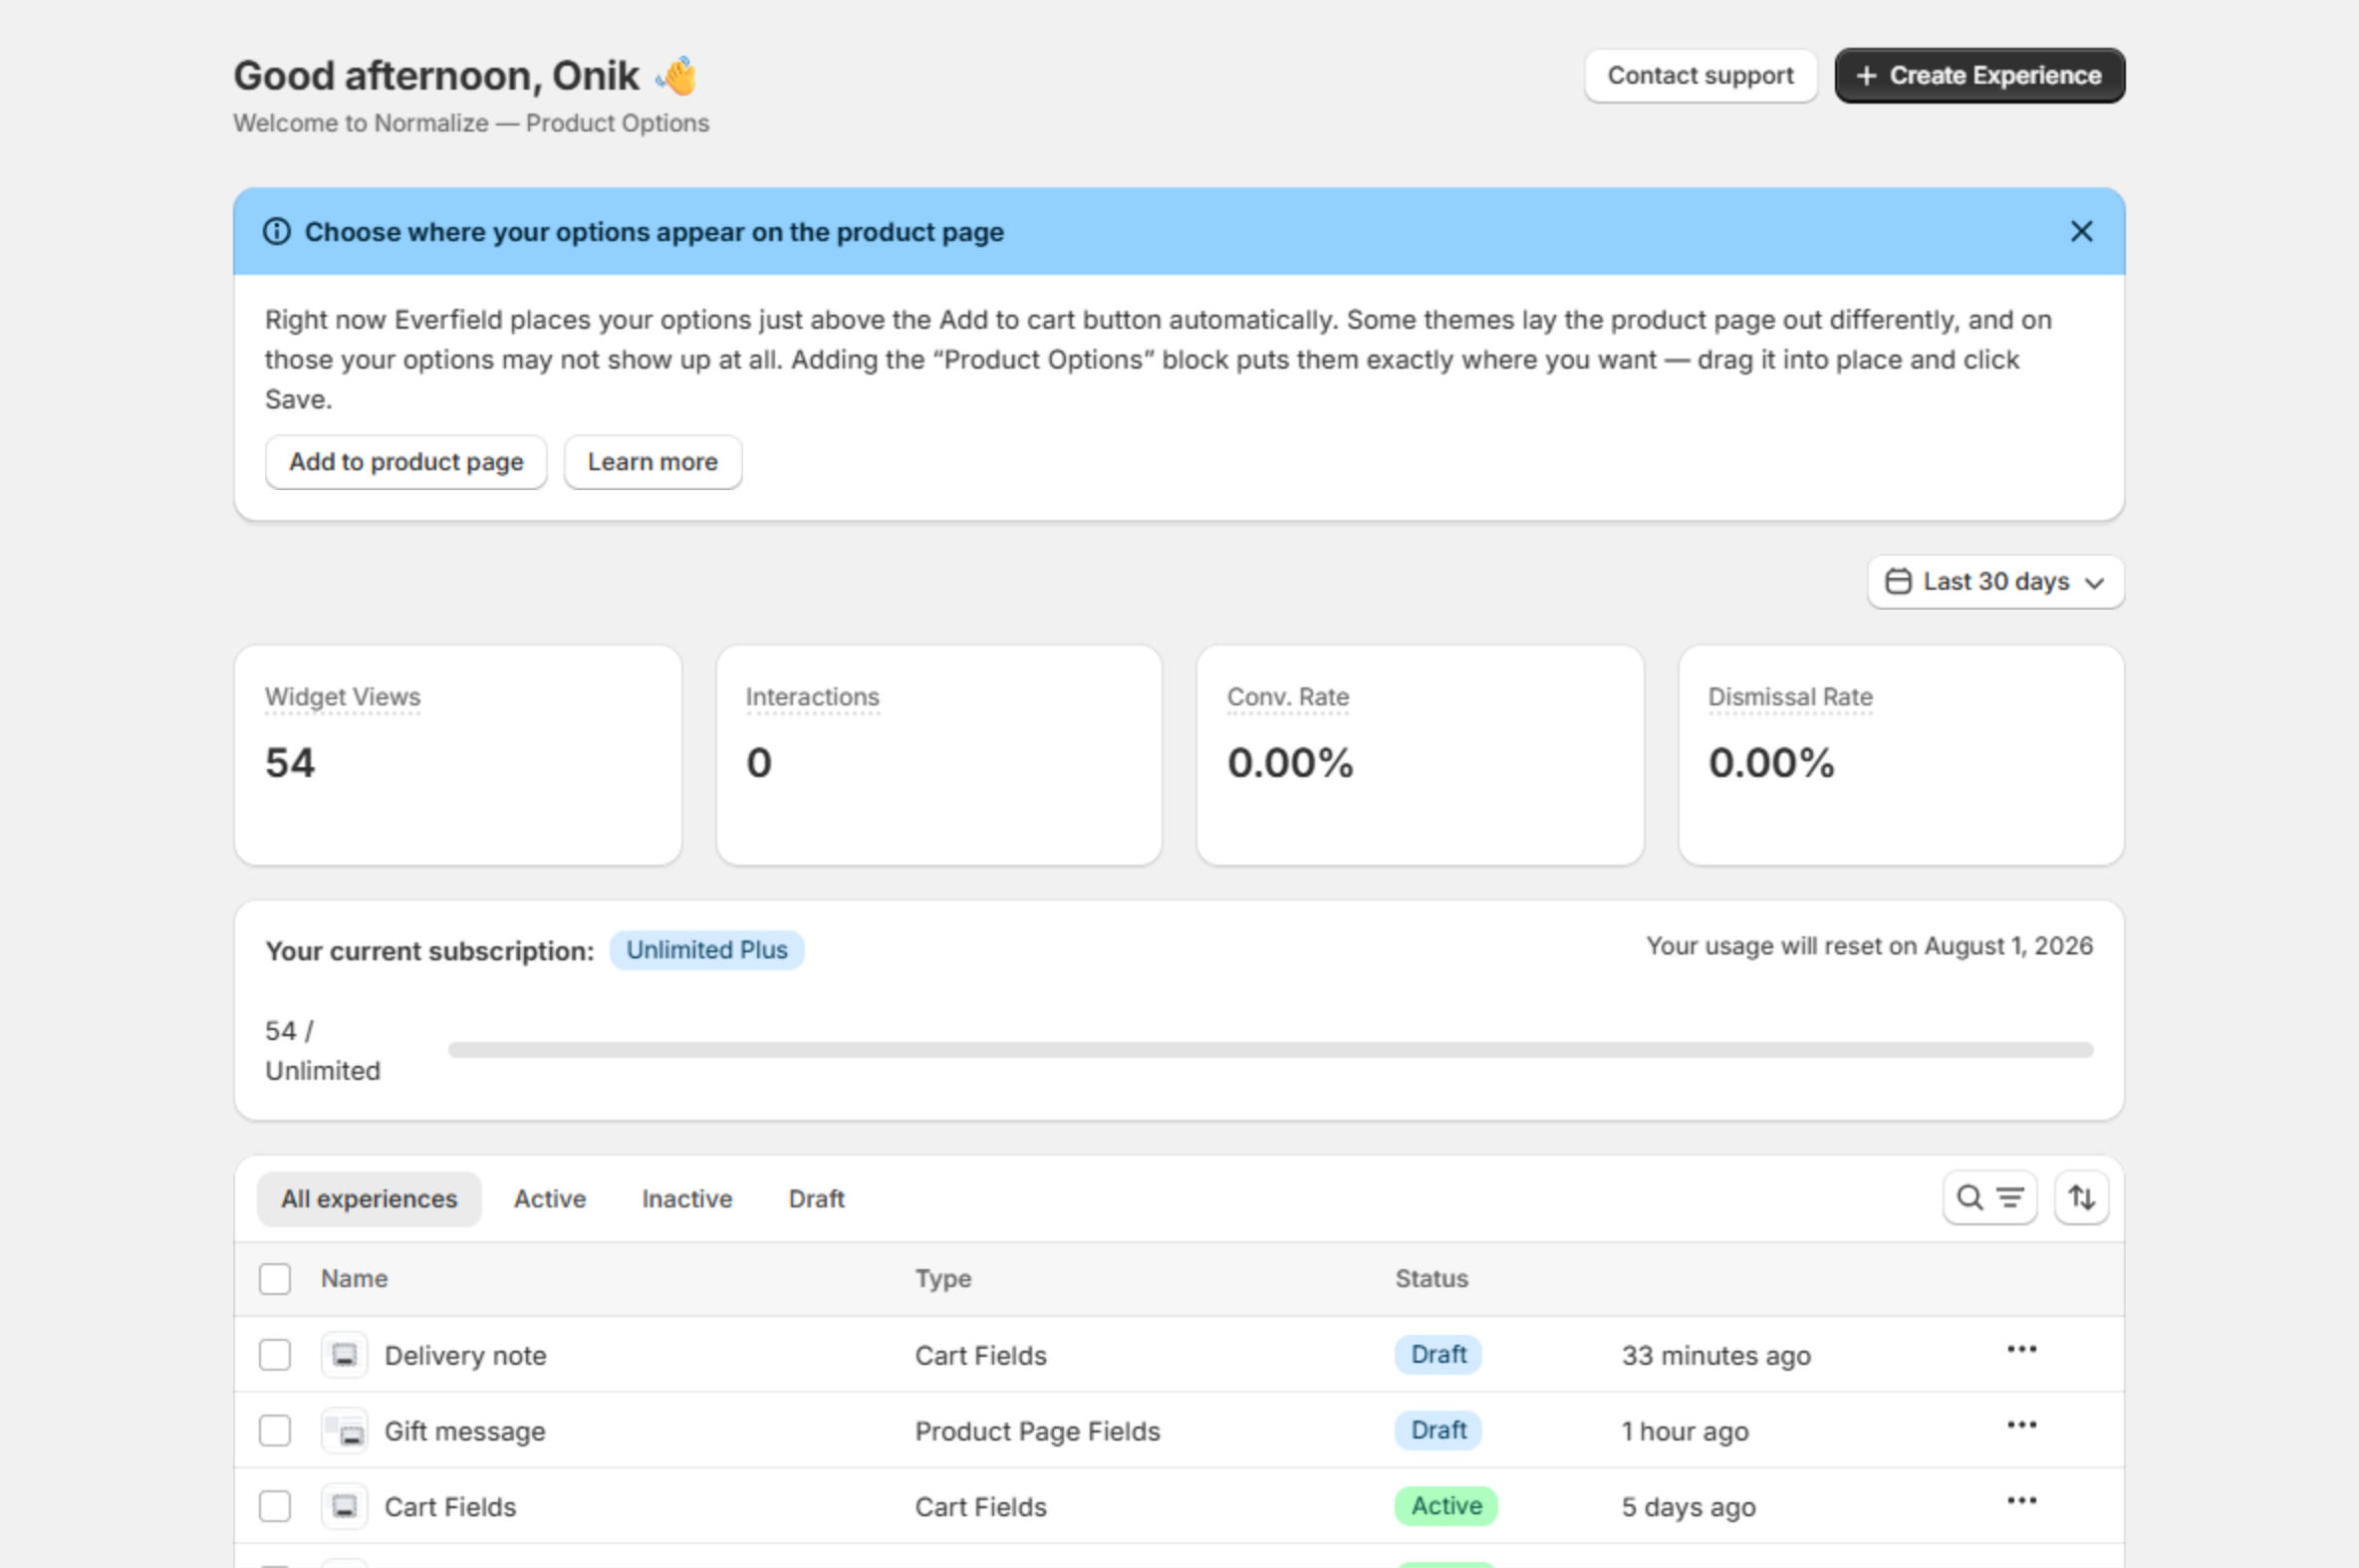
After saving, the warning is replaced by the optional placement banner
If you would rather do it by hand, go to Online Store → Themes, click Customize on your published theme, open Theme settings → App embeds, turn on Everfield Product Options, then click Save.
The app embed only makes Everfield available to your storefront. Each experience still has to be published in Everfield before customers see it — only published experiences are sent to your theme.
If your options still do not appear on the product page
With the embed on, Everfield places your fields into your theme's add-to-cart form automatically, just above the Add to cart button. It finds that form by looking for the theme's /cart/add form. Some themes build the product page differently, and on those Everfield cannot find the form — so nothing appears, with no error to explain it. (If it finds the form but no add-to-cart button inside it, the fields land at the very end of that form, which can look wrong.)
The fix is the Product Options block: a section block you drop onto your product template by hand. Everfield looks for that block first and only falls back to automatic placement when there is no block, so adding it both fixes the problem and lets you decide exactly where the fields sit.
- On the dashboard, find the info banner titled Choose where your options appear on the product page and click Add to product page. This opens the theme editor on your product template with the block ready to place.
- If that banner is not there — it only shows once you have published an experience, it gives way to the No customer has seen your live options yet warning while that one is showing, and it can be dismissed — do it by hand instead: Online Store → Themes → Customize on your published theme, switch the template selector to a product page, then Add block → Apps → Product Options.
- Drag the block to where you want your options to appear.
- Click Save.
Two things worth knowing about the block:
- The block works on product pages even if the app embed was never turned on. It only loads on product templates, though — so your cart page, and any cart drawer opened from a page other than a product page, still need the embed.
- It is safe to have both the embed and the block active. Everfield loads once and renders once; it will not double up.
The app embed is per-theme
The embed is stored in the settings of the theme you enabled it on. That has a few consequences:
- Turning it on in a preview or duplicate theme does nothing for real customers. It has to be on in your published theme.
- If you publish a different theme later, or install a new one, turn the embed on again in that theme. Everfield does not carry it across.
- After switching or updating a theme, open Cart selectors in the Everfield nav and click Sync theme selectors so cart options mount in the right place on the new theme.
- To turn Everfield off again, go back to Theme settings → App embeds, switch the toggle off and click Save. Nothing is left behind in your theme files.
Troubleshooting
I switched the toggle on but nothing changed on my storefront. The toggle is not applied until you click Save in the theme editor. Reopen Theme settings → App embeds, confirm the toggle is on, and save.
I turned it on but I was in the wrong theme. Everfield checks your published theme only. Open the theme editor for the live theme and turn the embed on there.
The "not live" warning is still showing after I saved. Reload the Everfield dashboard first — the check runs when the page loads. If it persists and you are relying on the Product Options block alone, check that the block is saved on a product template in your published theme and is not hidden. Everfield looks at every product template in that theme, including blocks placed inside other blocks, so a saved, visible block clears the warning. Turning the app embed on clears it too.
The embed is on and saved, but one particular experience does not show. That is a different problem — usually publishing status or targeting rules. Also worth knowing: only the first published experience per placement that matches renders, so a second published product-page experience on the same product will not appear. See Options not showing.
My cart options are missing or land in the wrong spot. The cart widget mounts above your checkout button using a per-theme CSS selector. Run Sync theme selectors on the Cart selectors page, and if your theme is labelled Default position rather than Matched, open that experience's Placement tab, turn off Detect cart position automatically, and enter your own Checkout button selector — the field only appears once automatic detection is off. See Add options to the cart.